My latest poppet, inspired by Calypso of The Pirates of the Carribbean, really had some great eyes. I love to paint eyes with nailpolish. Nowadays there are so many great choices. Here's a short pictorial on how her eyes came about.
First, I went thru the entire box of nailpolish, and did up some samples on a sheet of clear plastic.

 <--shades of blue
 <--golds for accents
 Prep your eye. If you like, buy clear ones. If you found a heck-load of spray-painted ones for super cheap like I did, sand those buggers off! Here I am using an emery board for shaping nails. I've also used a rotary tool with a sanding disc attached.

You can lay down a translucent layer of color first if you like. For Calypso's, I put down a teal blue. Forgot to take a pic, too excited.
With a toothpick, I add details like dots and lines. Note how the dots look tiny from the back but much larger from the front. I put down varying sizes of gold and teal green dots.


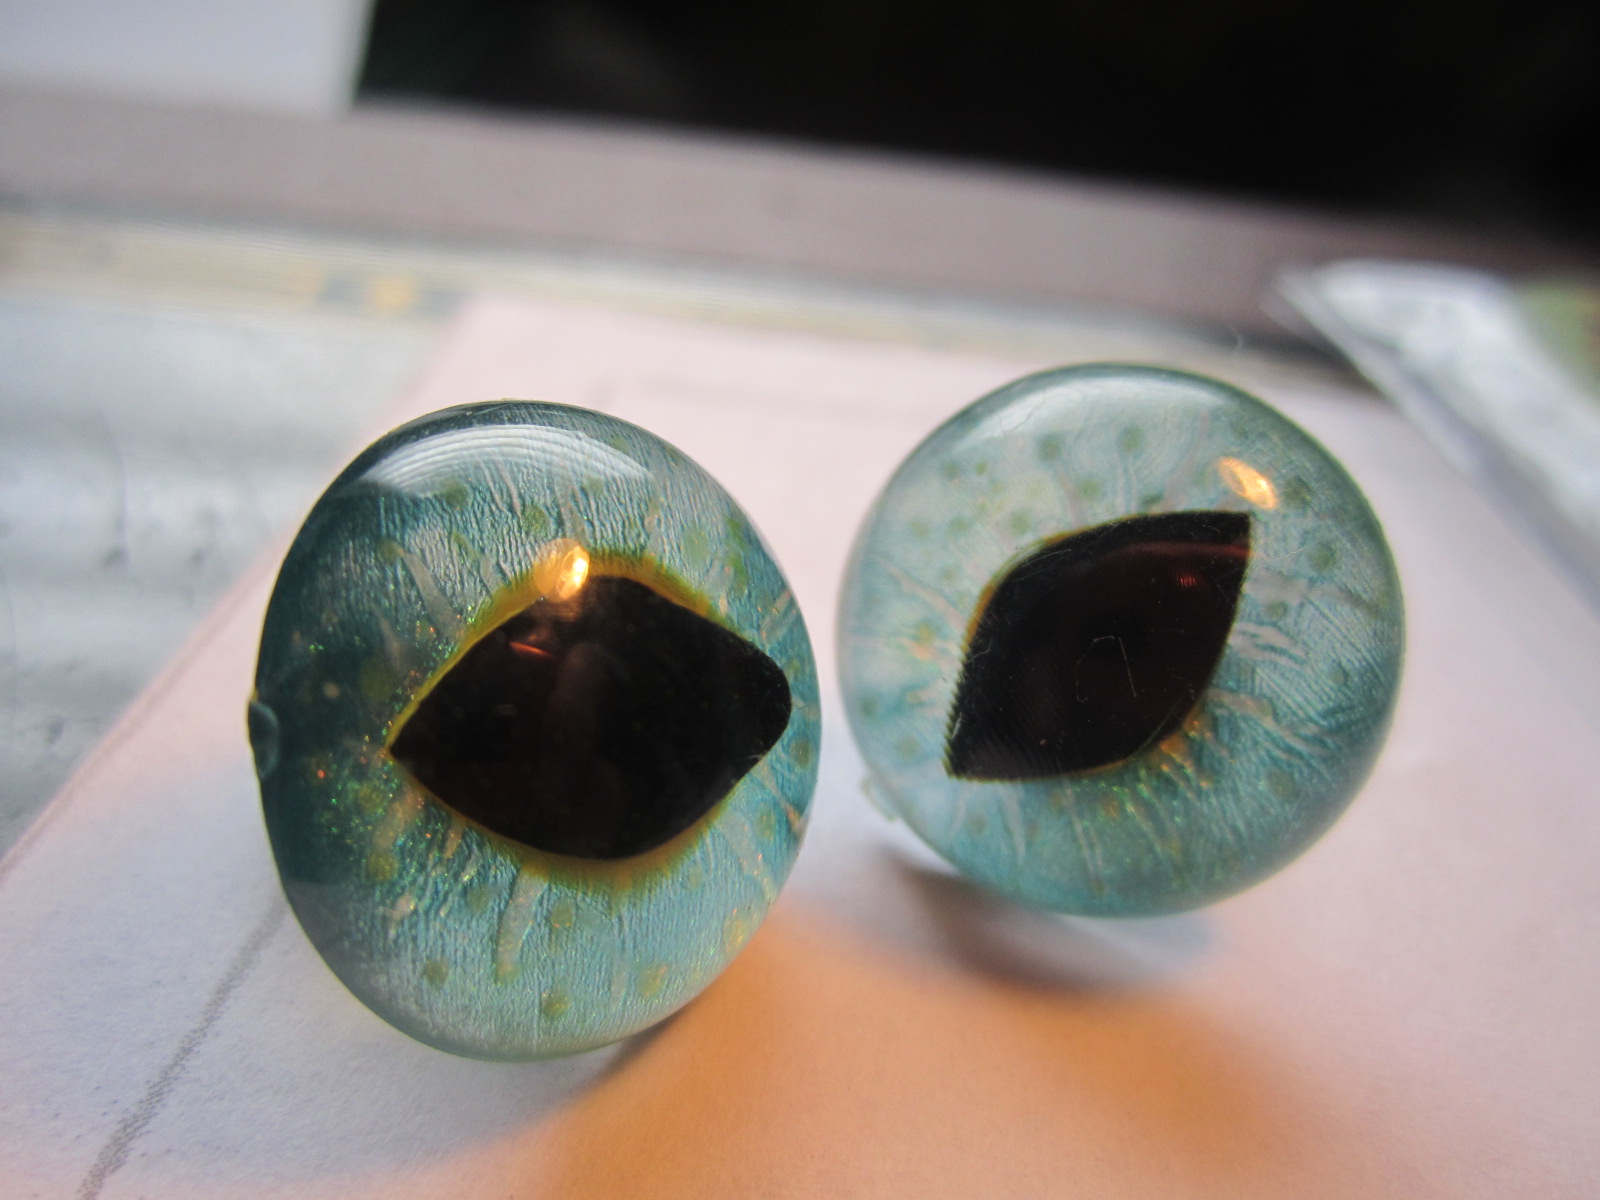
Then it seemed lacking so I put in black lines with acrylic paint. I like how they are a tad bit subtle because they are the last layer. I usually do gold lines as the first layer so they stand out more. Notice that although the black is fairly thick on the edge, it shows up as only lines from the front. Somehow the edge gets lost. The third pic below shows the two teals I used, the background more bluish, the dots more greenish.


love how it turned out. looks very oceany here, and different depending on the light:

This was how she may have looked with brown hair or blue. I ended up using the blue with streaks of the brown and an additional third wool variegated yarn with pinks and purples in it. BTW if you're wondering how I do the eye/hair/skin test, the eye is stuck into the hole of the head meant for the neck. I then drape a bunch of the yarn over to see how everything will go together.


And that folks is how Calypso got her hair and eyes.
Thanks for visiting!
Aloha, ~Su